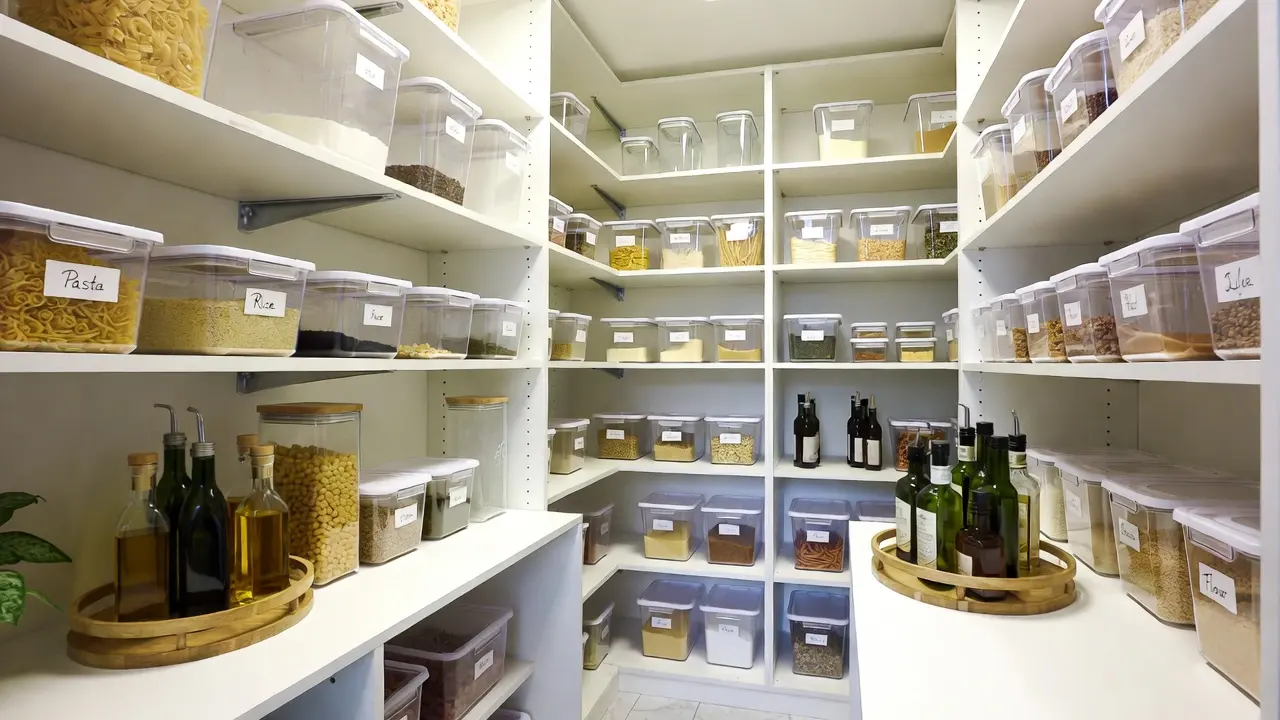
You open the pantry for a can of tomatoes and end up pulling out half the shelf to find it. Then you spot three open bags of rice and a jar of peanut butter you forgot you bought. If that sounds familiar, the problem usually isn't how much food you have. It's how the space is set up. Good pantry organization is less about pretty jars and more about building a system where every item has a home you can see and reach.
This guide walks you through the whole process, from emptying the shelves to setting up zones that stay tidy for months. You'll also find practical pantry organization tips for deep pantry shelves, which are the trickiest spaces to keep in order, plus simple habits that stop the clutter from creeping back.
Why Pantry Organization Matters
An organized pantry does more than look nice. It saves you time on busy weeknights because you can find what you need in seconds. It also saves money. When items are hidden, it's easy to buy duplicates or let food expire at the back of a shelf. Food waste is a real cost in most homes, and a lot of it starts in cupboards where nobody can see what's inside.
Good kitchen pantry organization also makes meal planning easier. When your grains, pasta and sauces, and snacks are visible at a glance, you know what to cook this week and what to add to the shopping list. That small shift can turn a stressful kitchen routine into a calm one.
Why Deep Pantry Shelves Are So Hard to Organize
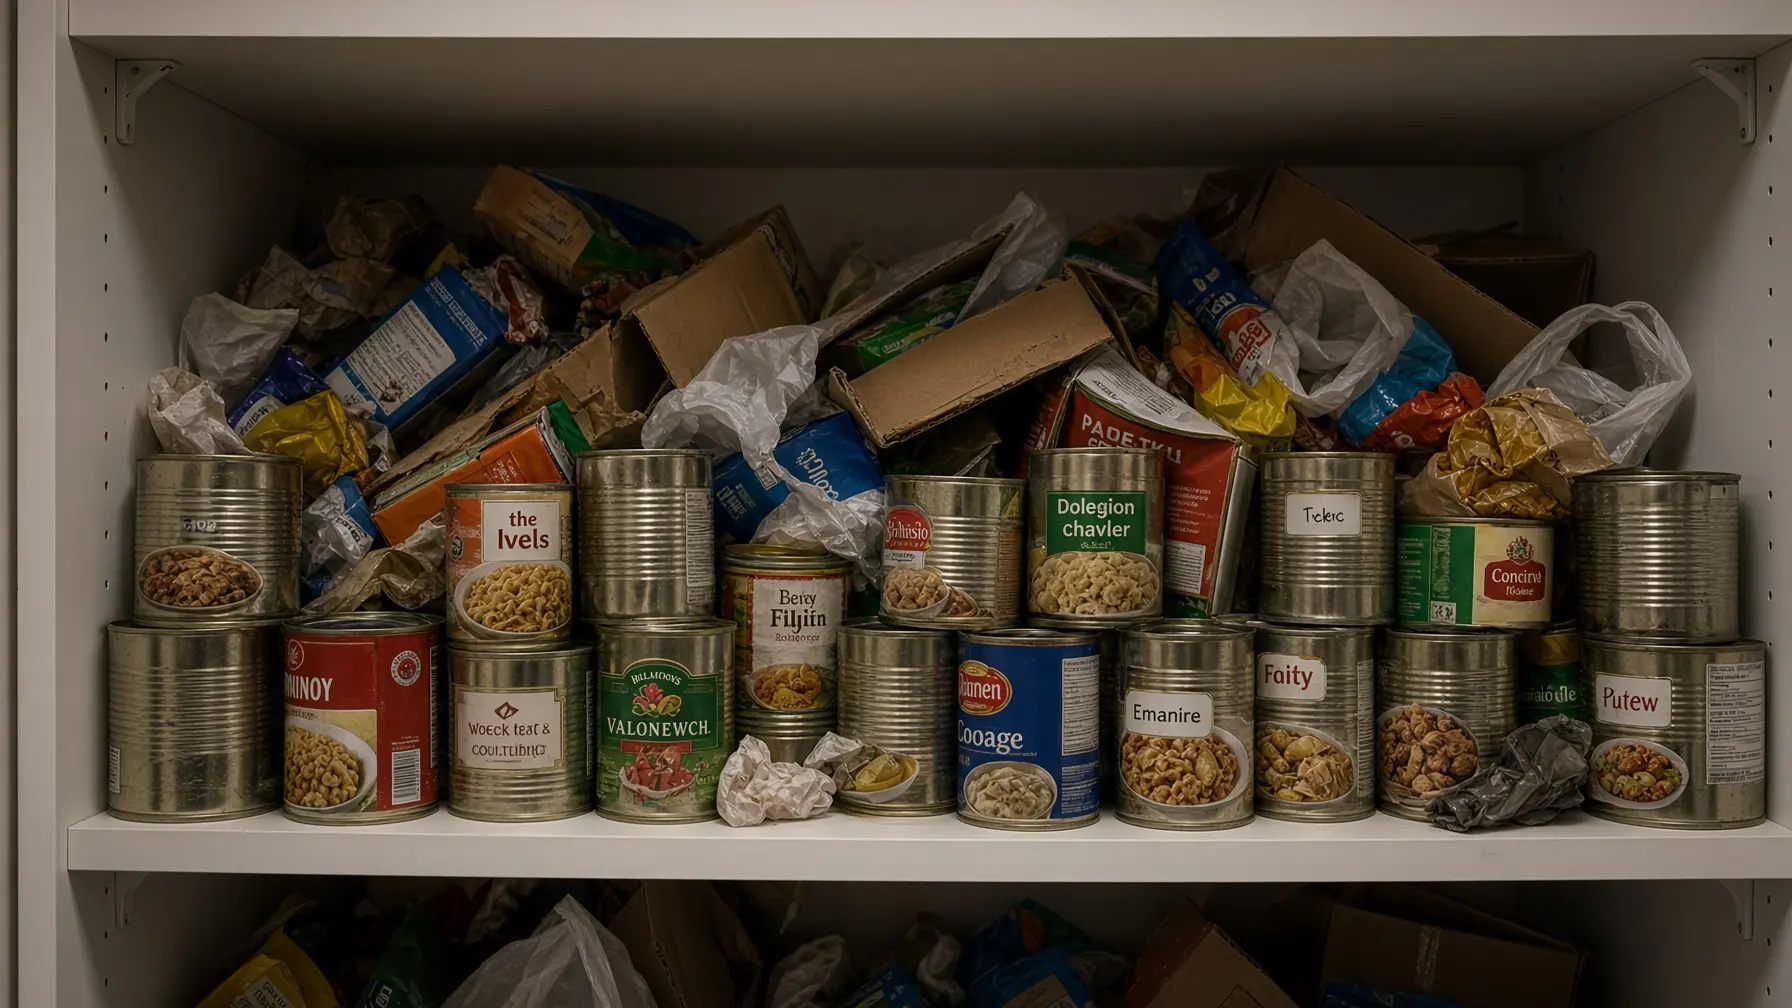
Deep pantry shelves look like a gift at first. More depth means more room, right? In practice, the back half of a deep shelf becomes a blind zone. Many pantries, especially in newer homes, have fixed shelves that are 20 to 24 inches deep. Anything placed beyond the first 12 to 16 inches tends to vanish behind whatever sits in front of it.
The result is familiar. You buy a jar of salsa because you can't see the one you already own. Cans end up stacked two or three rows deep, and reaching the back means moving everything in front. Wire shelving adds another headache, since small items tip over or slip through the gaps.
The fix isn't to cram more into the back. It's to make the back come to you. That's why deep shelf pantry organization needs its own strategy, and we'll cover it in detail further down.
How to Organize a Pantry in 7 Simple Steps
Whether you have a walk-in room, a tall cabinet, or a single cupboard, the process to organize pantry shelves is the same. Set aside two to three hours for the first round. It moves faster than you expect once you get going.
Step 1: Empty Everything and Check Expiry Dates
Take every item out and put it on the counter or kitchen table. Yes, everything. It's the only way to see what you really have. As you go, check dates and toss anything expired, stale, or showing signs of pests. Open bags of flour or grains that smell off should go too.
Wipe the empty shelves with warm soapy water and let them dry completely. Moisture in a closed pantry invites mold and bugs.
Step 2: Measure Your Pantry Space
Before you buy a single bin, grab a tape measure. Note the width and depth of each shelf, along with the height between shelves. Measuring is the step most people skip in pantry organization, yet these numbers decide which products will actually fit. A bin that's half an inch too tall is useless, and it happens more often than you'd think.
| Shelf depth | Best storage options | What to avoid |
|---|---|---|
| Under 14 inches | Single rows, can risers, small bins | Stacking items two rows deep |
| 14 to 18 inches | Long clear bins, turntables | Loose items with no container |
| Over 18 inches | Pull-out drawers, sliding baskets | Fixed shelves with loose items |
Step 3: Sort Pantry Items Into Categories
Group like with like. Common pantry categories include:
- Grains and rice (rice, quinoa, oats, lentils)
- Pasta and sauces
- Canned goods (vegetables, beans, soups)
- Baking supplies (flour, sugar, baking soda, chocolate chips)
- Breakfast items (cereal, pancake mix, nut butters)
- Snacks (chips, crackers, granola bars, nuts)
- Oils and condiments (olive oil, vinegar, hot sauce, dressings)
- Spices and seasonings
- Backstock (extra items bought in bulk)
Your categories should match how your household actually eats. If you bake every weekend, baking deserves its own zone. If you rarely bake, one small bin is plenty.
Step 4: Create Pantry Zones
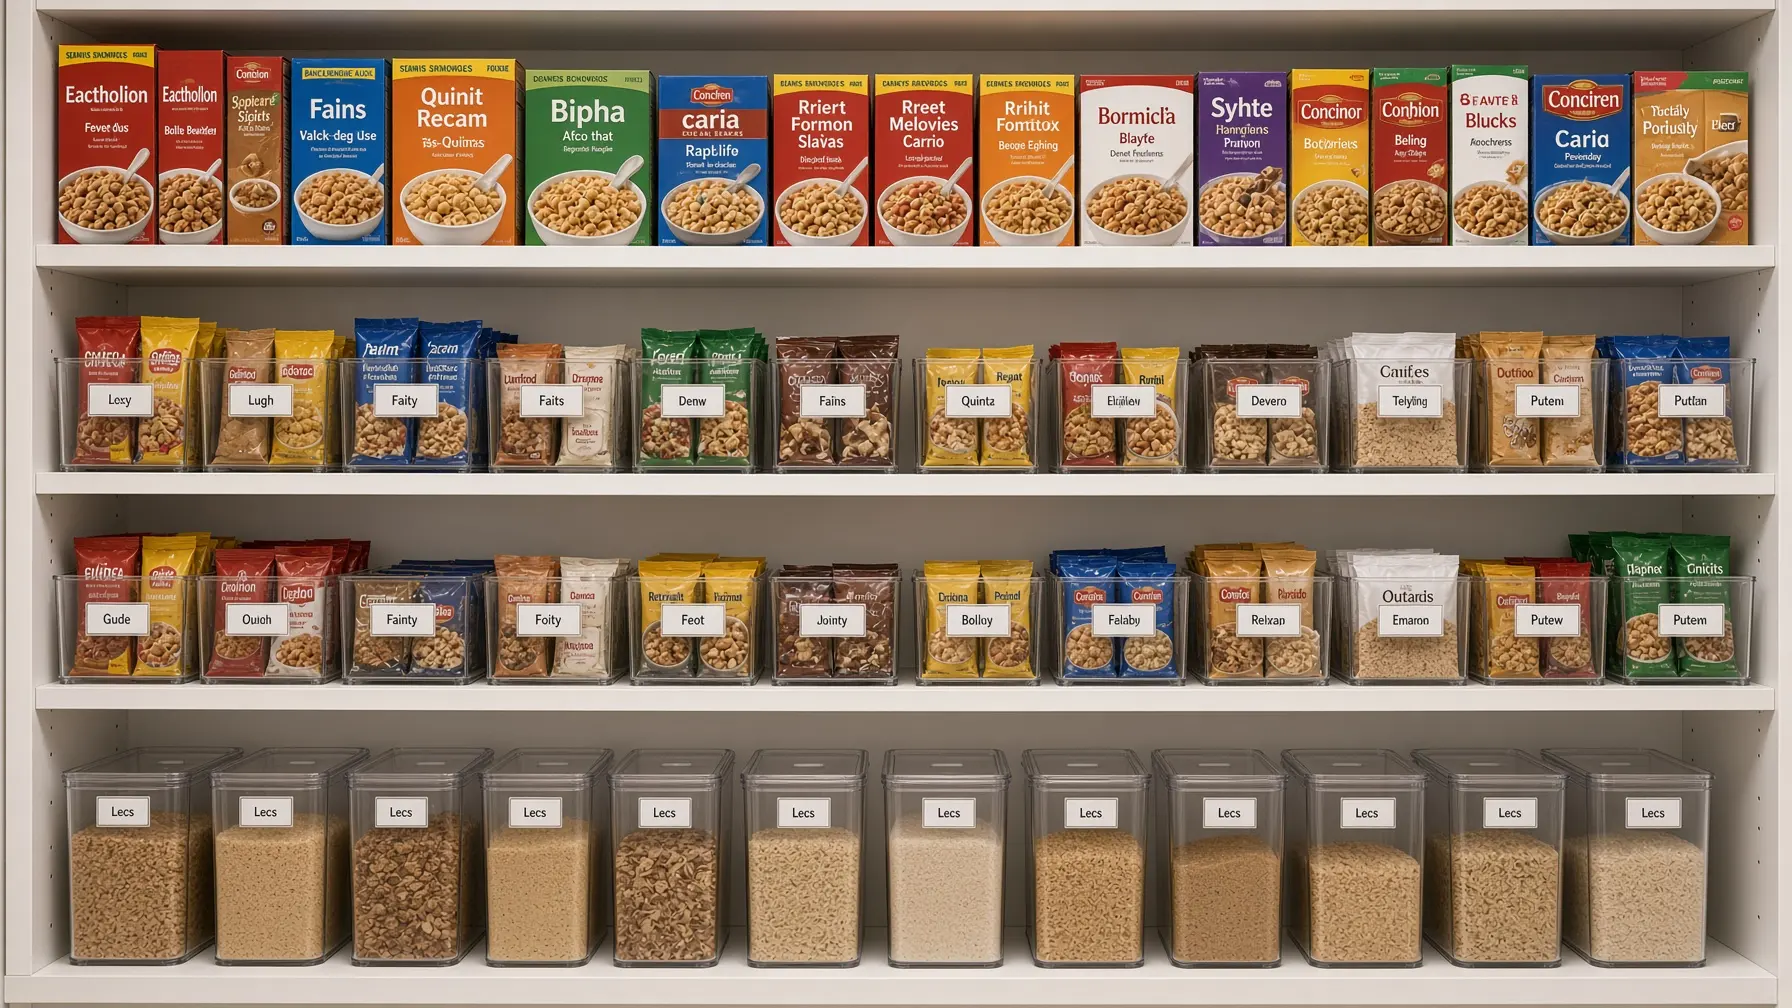
Once your categories are set, give each one a permanent spot. This is the heart of any pantry organization system. The rule is simple: keep what you use most at eye level and within easy reach, and move rarely used items up high or down low.
| Shelf level | What to store there |
|---|---|
| Top shelf | Backstock, holiday baking supplies, rarely used appliances |
| Eye level | Everyday items like breakfast foods, pasta, sauces, and grains |
| Waist level | Snacks, canned goods, oils, and condiments |
| Bottom shelf | Heavy items, bulk food storage, drinks, kids' snacks |
If you have young children, put healthy snacks on a low shelf they can reach on their own. It saves you from being asked for crackers ten times a day.
Step 5: Choose the Right Storage Containers
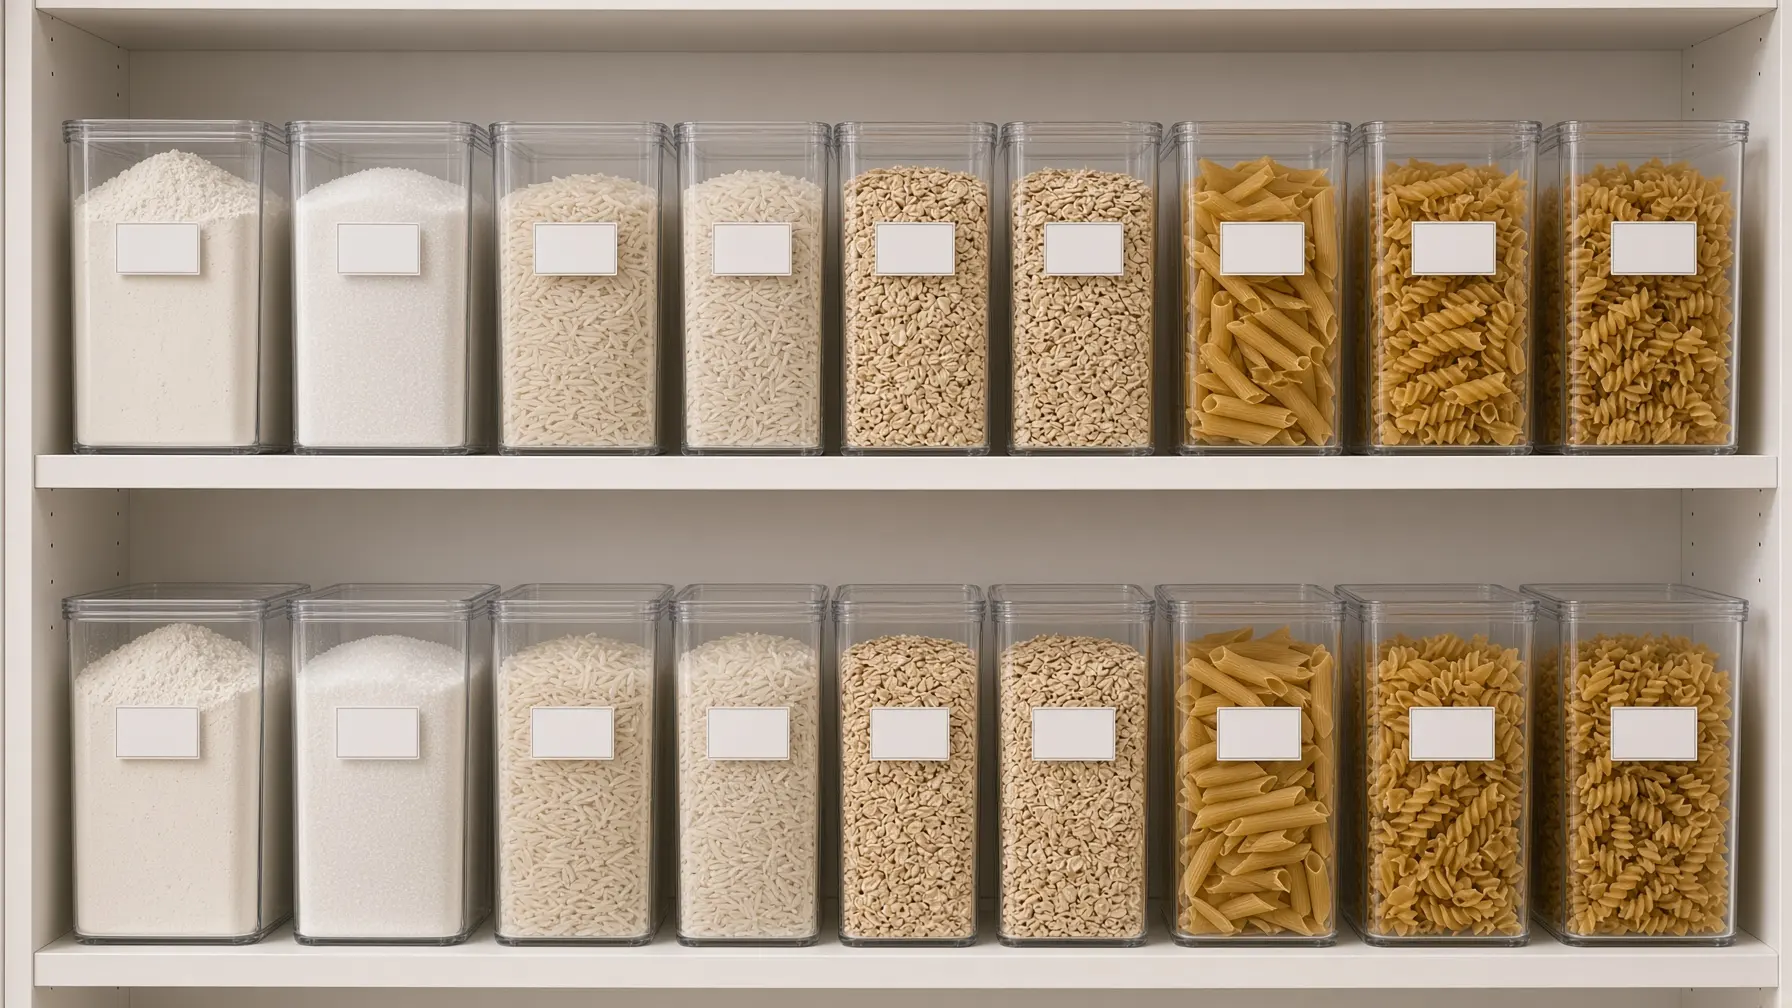
Containers should solve a problem, not create one. Clear storage bins are the most useful option because you can see what's inside without pulling them out. Bins with handles work especially well on deep shelves, since you can slide the whole bin forward like a drawer.
Airtight containers are best for food that goes stale or attracts pests, such as flour, sugar, cereal, rice, and nuts. Woven baskets look lovely but hide their contents, so save them for bread, potatoes, or paper goods where visibility matters less.
Buy containers only after you've sorted and measured. Shopping first is the most common and most expensive pantry organization mistake.
Step 6: Label Everything
Labels keep the system working when someone else puts the groceries away. Label bins by category, such as Snacks, Baking, or Pasta, and mark decanted containers with the item name and expiry date. Some people also label the shelf edge itself, so each bin always returns to the same spot.
Step 7: Rotate Your Stock
Follow the first in, first out method, often called FIFO. When you unpack new groceries, move the older items to the front and place the new ones behind them. Restaurant kitchens rely on this habit for one reason: it stops food from expiring out of sight.
Pantry Organization Ideas for Deep Pantry Shelves
Deep shelves need a different approach than standard ones. These pantry organization ideas turn wasted depth into storage you'll actually use.
Install Pull Out Pantry Shelves or Drawers
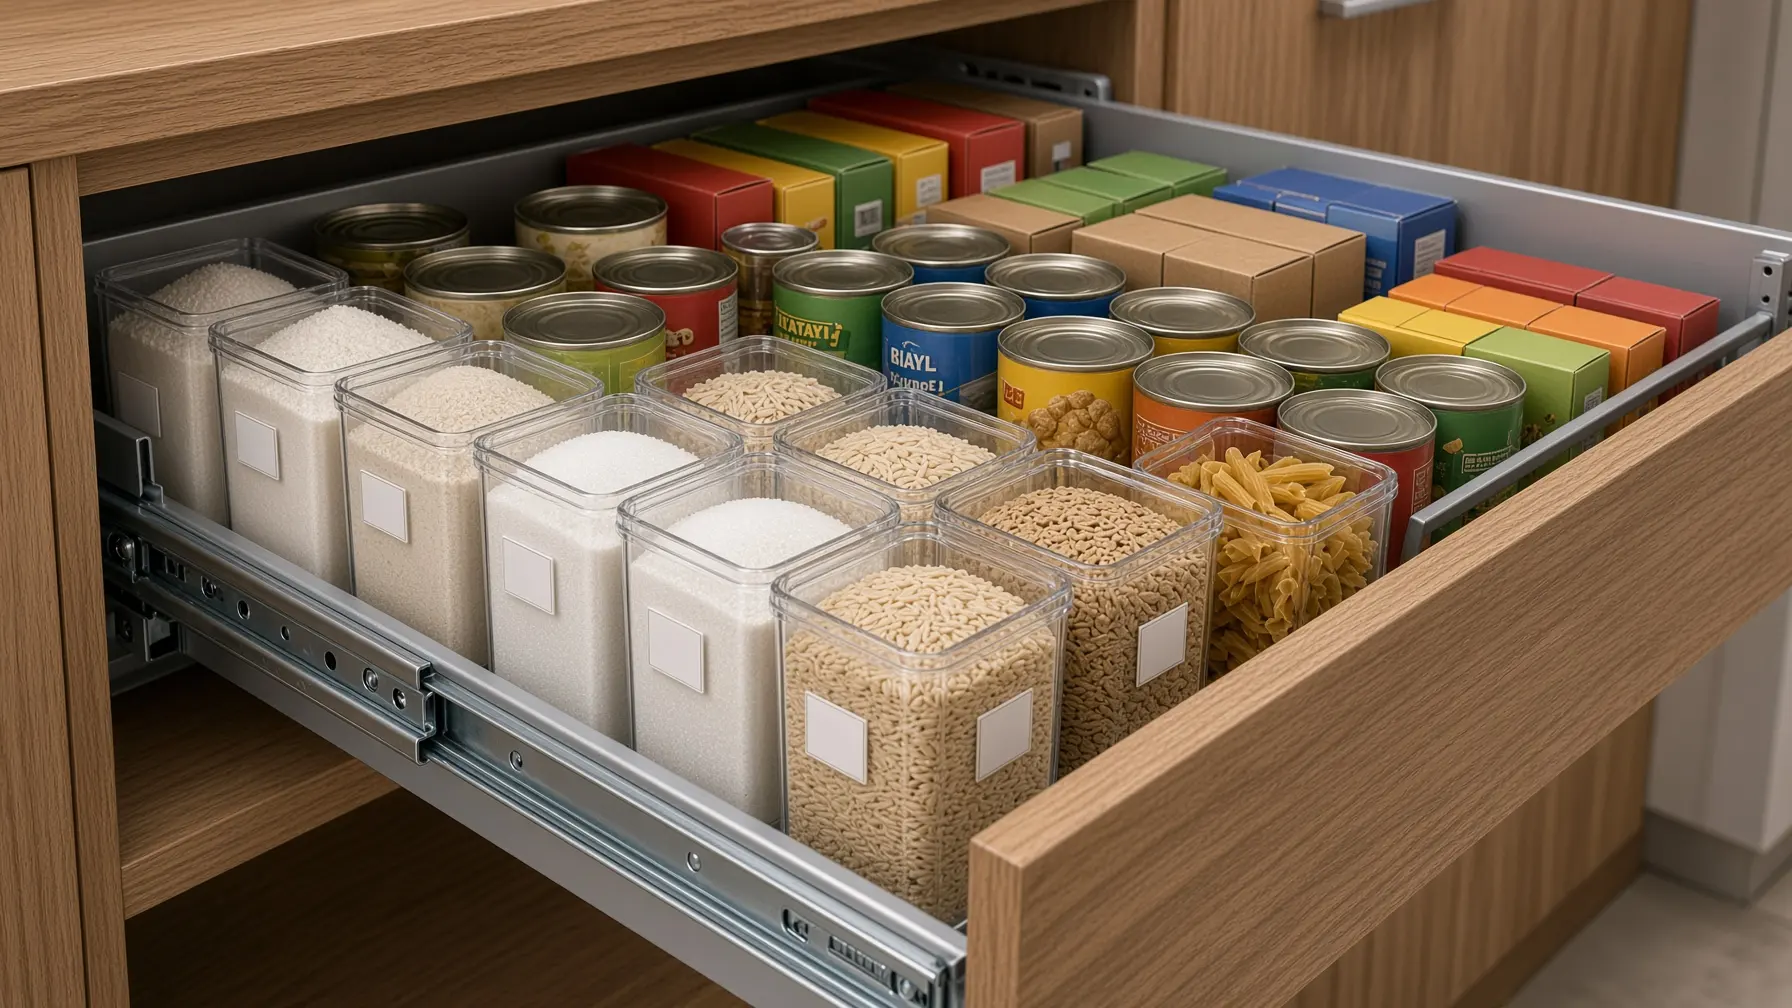
Pull out pantry shelves are the biggest upgrade you can make to a deep pantry. Instead of reaching into the back, you slide the whole shelf toward you and see everything at once. There are a few ways to do it:
- Custom pull-out shelves with soft-close slides, installed by a carpenter or closet company. This is the most durable choice and also the most expensive.
- DIY pantry drawers that attach to your existing shelves with screws or strong adhesive. A good middle ground for homeowners and renters.
- Sliding baskets or wire drawers that simply sit on the shelf with no installation needed.
If you can only add a few, put them at waist height and below. That's where most blind reaching happens. Higher shelves can stay fixed for things you use a few times a year.
Use Long Clear Bins as Makeshift Drawers
Not ready for installed drawers? Long, narrow clear bins that match your shelf depth do nearly the same job. Fill each bin with a single category and pull it out whenever you need something from it. Nothing gets lost at the back, because the back is now inside the bin.
Add Shelf Risers for Cans and Jars
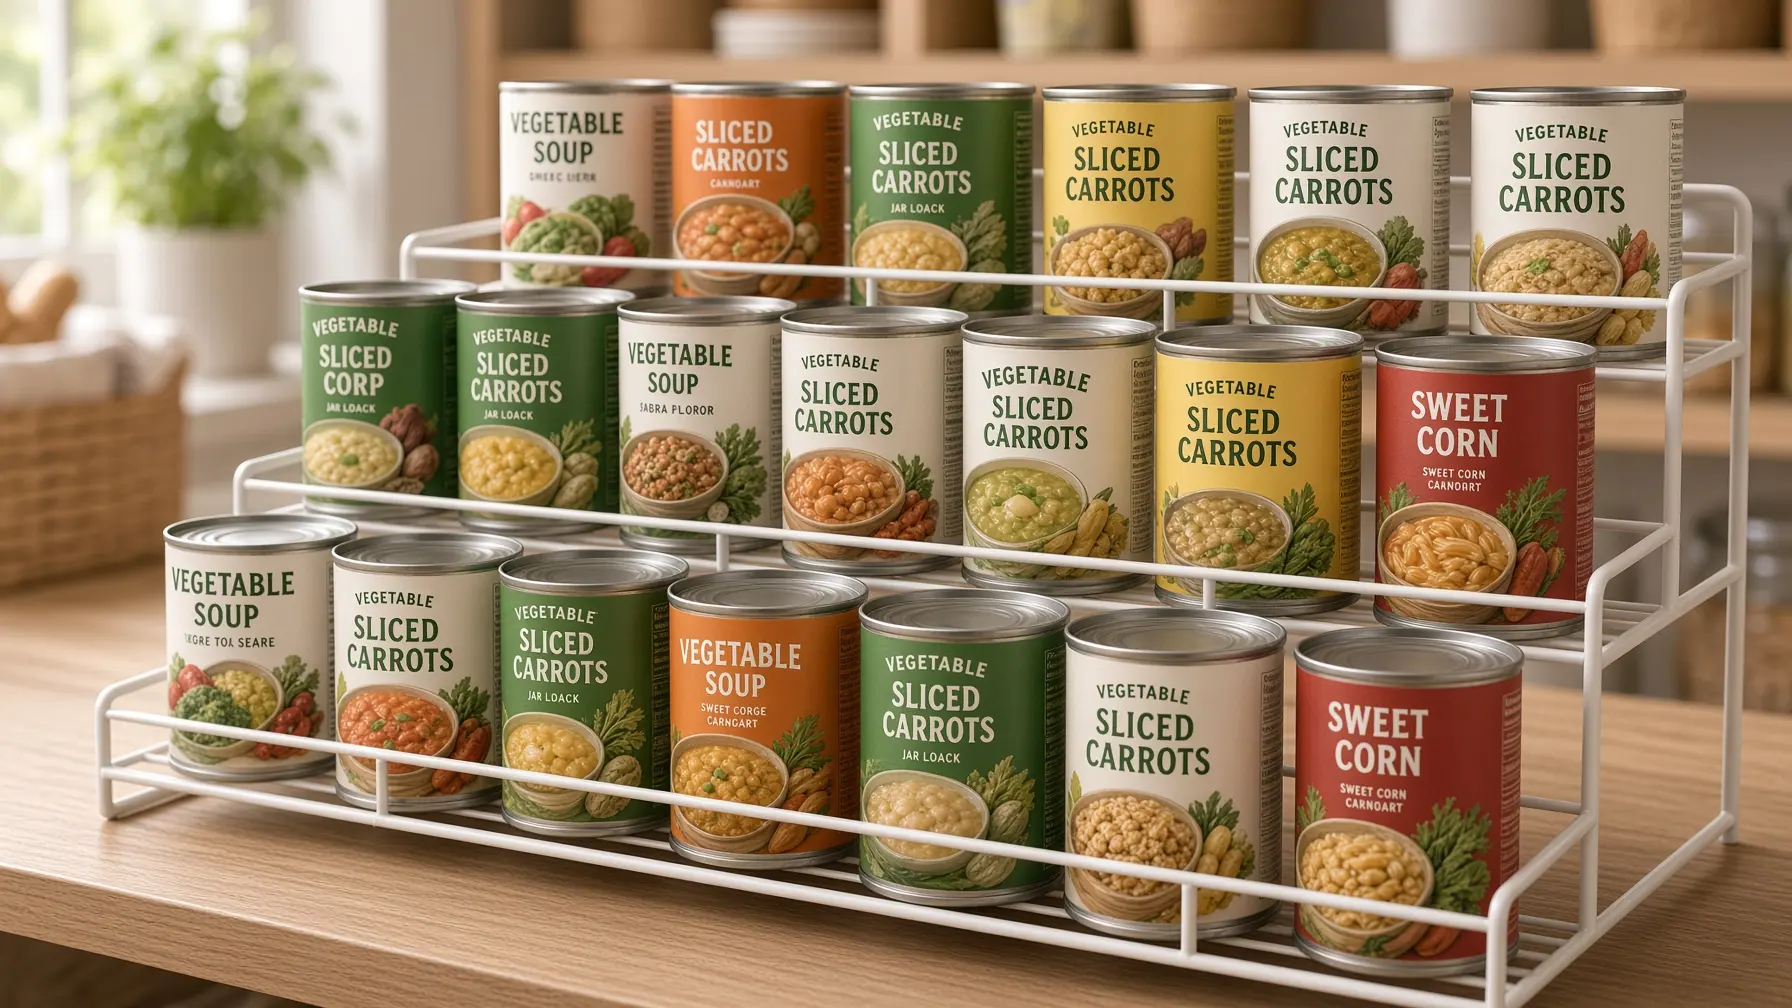
Shelf risers, sometimes called tiered organizers, lift the back rows so you can read labels over the front ones. They're one of the simplest pantry shelf organization tools and work perfectly for canned goods, spice jars, and sauce bottles. A three-tier riser holds as many cans as a messy pile, but every label faces you.
Put Turntables in the Corners
Corners on deep shelves are hard to reach. A turntable, also known as a lazy Susan, fixes this by bringing items from the back to the front with a quick spin. Use them for oils, vinegars, condiments, and small jars.
Keep Backstock Behind Everyday Items
Some people use depth on purpose with a two-row setup. The item you're currently using sits at the front, and the spare sits directly behind it. When the front one runs out, you pull the backup forward and add the item to your shopping list. Depth becomes a built-in reminder system.
Make Use of Vertical Space and the Door
Don't overlook the space above your items or the back of the pantry door. Stackable shelves, under-shelf baskets, and over-the-door racks add a surprising amount of room for spices, snack packs, foil, and wraps.
Pantry Storage Ideas for Small Pantries
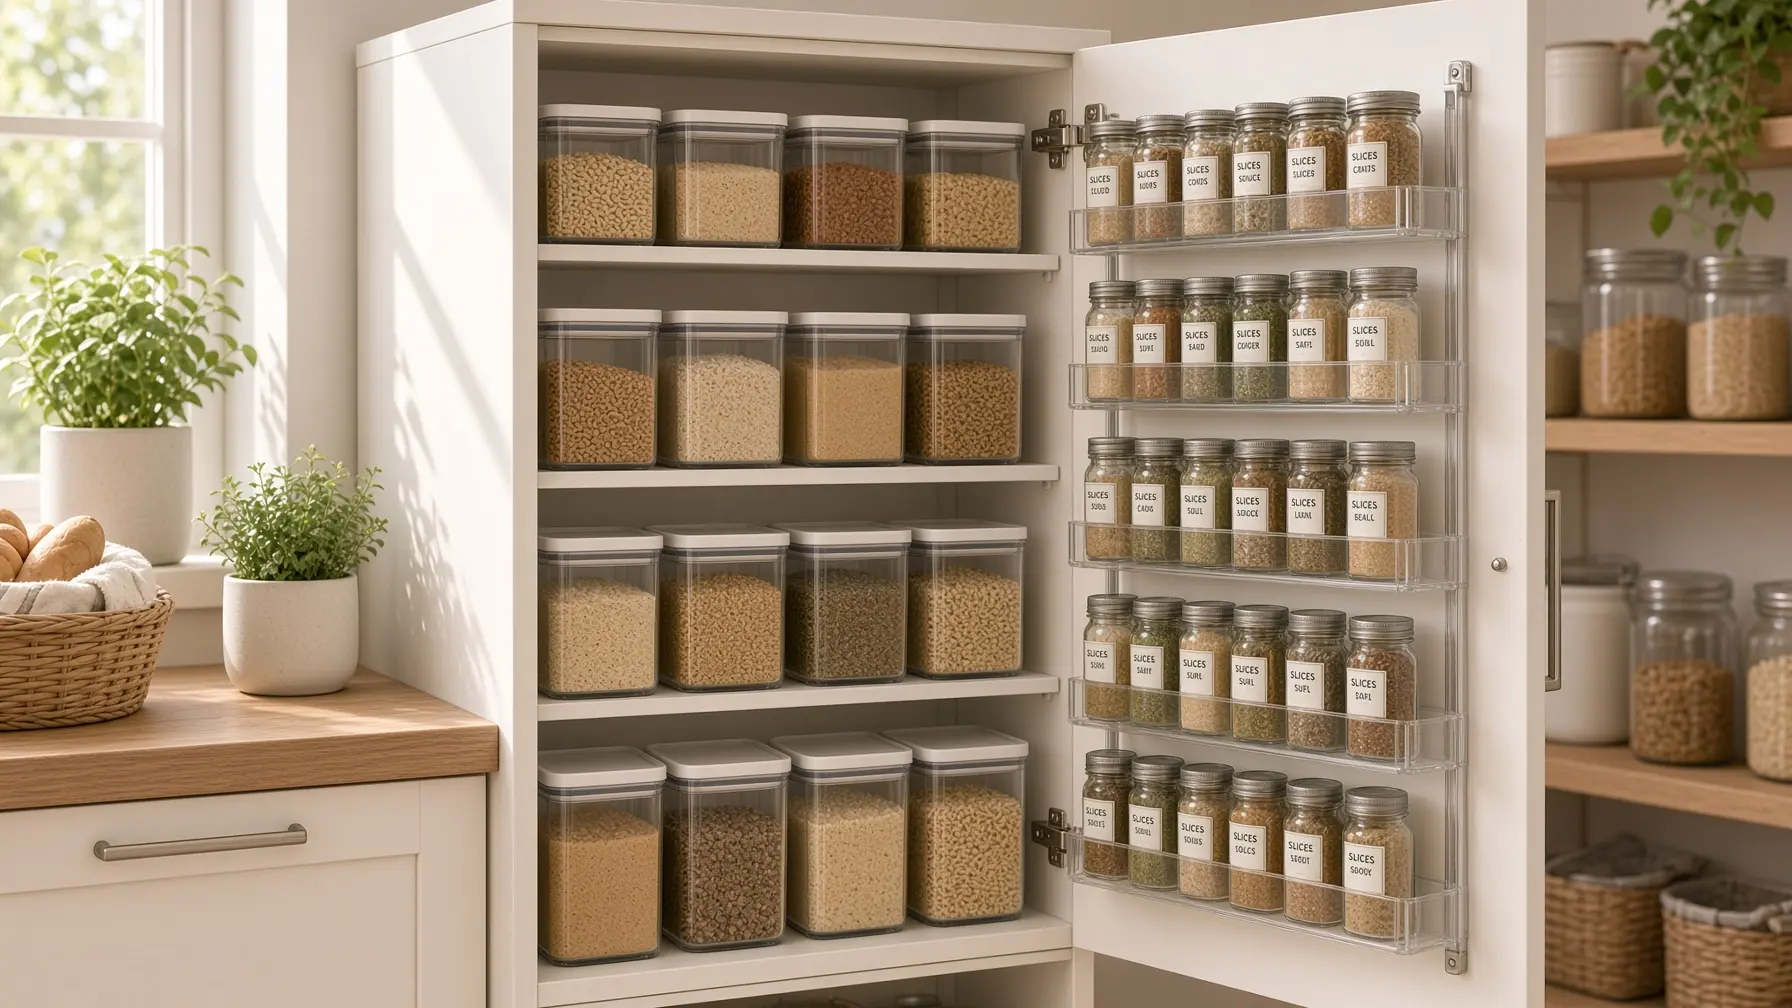
Small pantry organization comes down to being strict about what goes inside. Keep the space for food and cooking supplies, and move paper towels or cleaning products somewhere else. Use every inch of vertical space, choose square containers over round ones since they waste less room, and stick to fewer categories so each one gets enough space.
There are plenty of other pantry storage solutions for tight kitchens, and we'll cover them in a separate guide. These basics alone make an immediate difference.
Should You Decant Pantry Food?
Decanting means moving food from its original packaging into your own containers. It looks tidy, and for some items it genuinely helps. Flour, sugar, rice, oats, cereal, and anything bought in bulk stay fresher in airtight containers and are better protected from pantry moths and other pests.
You don't need to decant everything, though. Pasta boxes, cans, and bottles are already sealed and easy to stack, so decanting them only adds work. A good rule is to decant what goes stale or comes in awkward packaging and leave the rest alone. When you do decant, write the expiry date on a small label, or cut it from the package and tape it to the container.
Common Pantry Organization Mistakes to Avoid
- Buying containers before measuring and sorting
- Stacking items two or three rows deep on fixed shelves
- Decanting everything, which turns restocking into a chore
- Using opaque bins for everyday items
- Storing food near the stove or oven, where heat shortens shelf life
- Building a system that looks great but doesn't match how your family cooks
How to Keep Your Pantry Organized
The first cleanout is the hardest part of pantry organization. Keeping it that way just takes a few small, regular habits.
- Do a weekly reset. Ten minutes to push items back into their zones and wipe up crumbs is enough.
- Keep a simple pantry inventory. A list taped inside the door or saved in a notes app works well. Check it before you shop.
- Plan meals around what you have. It's the easiest way to cut food waste and use up older items.
- Do a full check every three to four months. Clear out anything expired and adjust zones as your habits change.
The goal is a functional pantry, not a perfect one. If a bag of chips lands in the wrong bin for a few days, that's fine. A system built for real life will always outlast one that only works on the day you set it up.
Frequently Asked Questions
What is the best way to organize a pantry with deep shelves?
Use pull-out drawers or long clear bins so items at the back slide forward. Keep one category per bin, place everyday items at eye level, and use shelf risers for cans so nothing hides behind something else.
How deep should pantry shelves be?
For fixed shelves, 12 to 16 inches is the most practical depth in most kitchens. Anything deeper works best with pull-out shelves, drawers, or long bins.
What should not be stored in a pantry?
Keep out anything that needs refrigeration after opening, along with cleaning chemicals. Potatoes and onions can live in a pantry, but store them apart, because onions make potatoes sprout faster.
How often should I reorganize my pantry?
A quick tidy each week and a full cleanout every three to four months keeps most pantries in good shape.
How long does it take to organize a pantry?
A small pantry usually takes one to two hours. A large walk-in pantry can take half a day, especially the first time.
Final Thoughts
Great pantry organization comes down to three things: seeing what you have, reaching it easily, and putting it back in the same place. Empty and sort first, measure before you shop, and give deep pantry shelves the pull-out or bin system they need. Once your zones are in place, a few minutes each week keeps everything running smoothly. Your future self, standing at the pantry door at 6 p.m. wondering what to cook, will thank you.